Welcome to the wonderfully messy and absolutely addictive world of paint pouring on rocks! If you’ve been curious about this fluid art technique but felt intimidated by all those gorgeous swirly masterpieces you see online, you’re in exactly the right place.
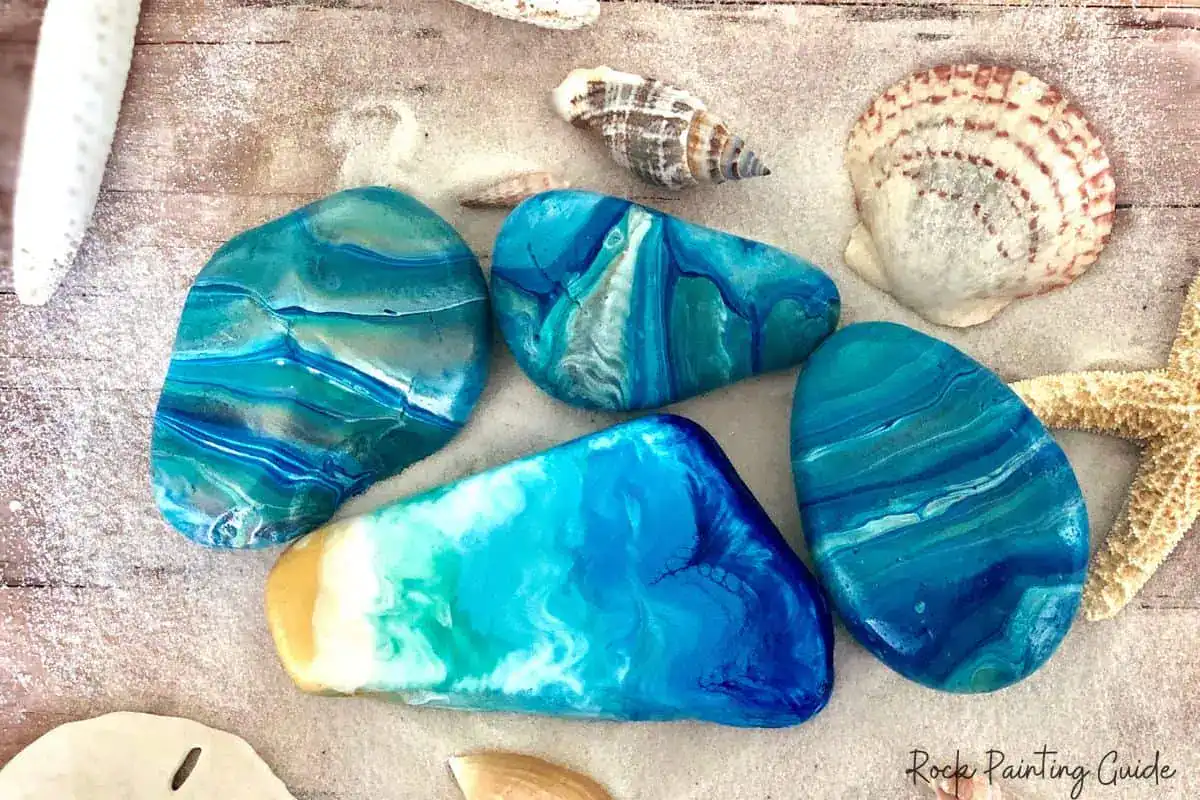
Paint pouring is like letting your inner child loose in the best possible way. It’s where art meets science meets “let’s see what happens when I mix these colors together!” Perfect for rainy afternoons, stress relief, or just when you want to create something beautiful without overthinking it.
What Exactly is Paint Pouring?
Think of paint pouring as painting’s laid-back cousin. Instead of carefully brushing paint onto your canvas (in this case, rocks), you’re literally pouring thinned paint and letting gravity and flow do most of the work. The result? Absolutely gorgeous abstract designs that look like they came from a professional art studio, but with way more fun and significantly less stress.
This technique is perfect for beginners because it lets you explore abstract painting without the stress of traditional painting. You’re literally letting the paint do most of the creative work while you guide the process – it’s like being a conductor for a colorful orchestra!
Every single rock turns out completely unique – and that’s honestly the magic of it all. No two pours are ever identical, which means you’re always in for a delightful surprise!
Gathering Your Supplies (Don’t Worry, It’s Simple!)
Here’s what you’ll need to get started on your paint pouring adventure:
The Essential Lineup:
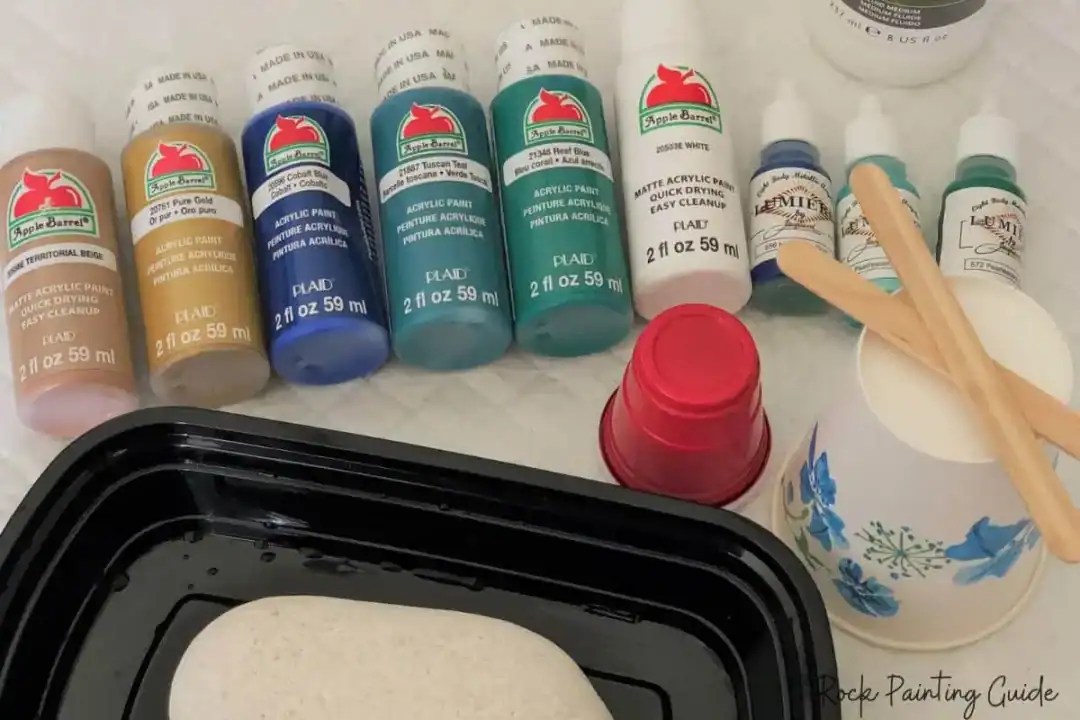
- Craft Paint in whatever colors make you happy
- Pouring Medium – Liquitex pouring medium
, Flood Floetrol
, or Golden GAC800
are the most commonly used brands
- Rocks (Smooth, clean rocks (river rocks are your best friends here)
- Craft Sticks, stir sticks, or popsicle sticks whatever you have on hand
- Cups or containers for paint mixing
- Something to protect your workspace (cardboard, parchment paper, or a plastic tray)
- Gloves (seriously, save your manicure!)
- Reusable containers for rock pouring, cheap foil pans with a lip works well.
- A base for rock. You can use anything from wide bottle caps to an upside-down egg carton, it just needs to be big enough to hold your rock above the surface area for paint runoff. Make your own DIY Tray, keep reading.
The Fun Extras:
- Silicone and 91% Isopropyl Alcohol for creating cells and lacing effects.
- Straws for blowing paint around
- Glitter (because everything’s better with sparkles)
- Art Resin
for super shiny gloss or high gloss sealer
DIY Paint Pouring Tray: Using What you have
This is perfect for using household items that you may already have. I used a square foil baking pan for this diy paint pouring tray. Punch holes along both sides. Stick wooden skewers in the holes to make a base for the rocks. Once the paint has dried, you can peel it off and reuse the pan again. You can also use this tray to base coat several rocks at once.
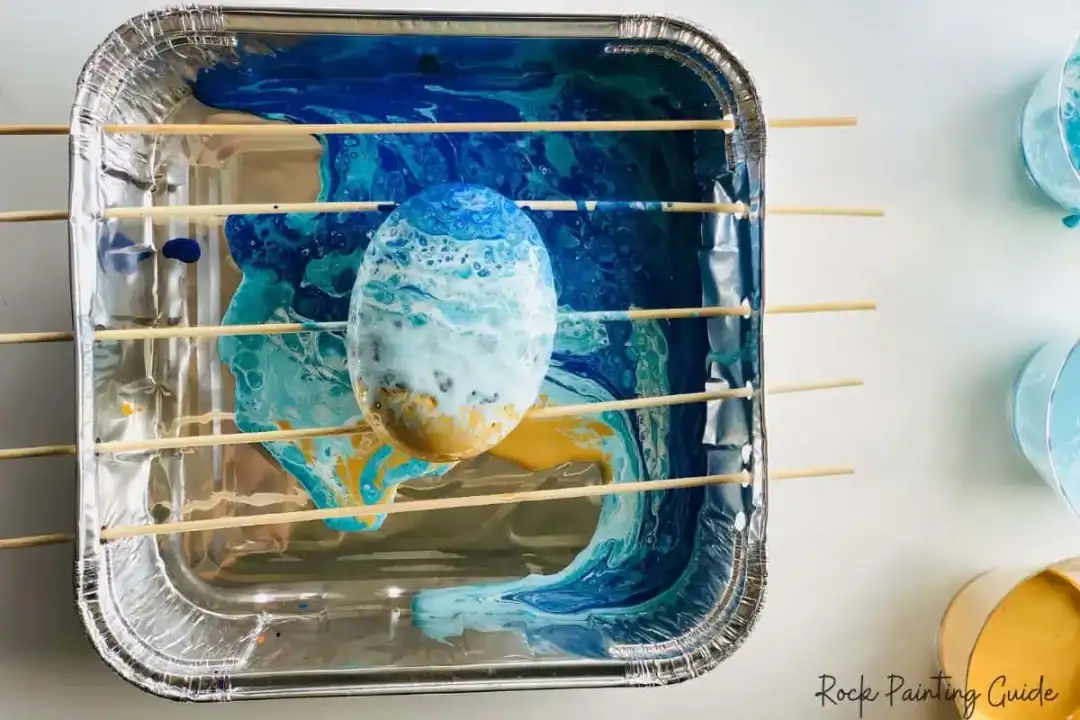
The best part? Once the paint has dried, you can peel it off and reuse the pan again and again. You can also use this setup to base coat several rocks at once – it’s a real time-saver!
Getting your rocks ready for their makeover
First things first – let’s prep those rocks! Give them a good scrub with soap and water to remove any dirt or debris. A quick wipe with isopropyl alcohol helps ensure they’re squeaky clean. Let them dry completely before moving to the next step.
Here’s a little pro tip: if you want your colors to really pop, consider giving your rocks a coat of white paint or gesso first. It’s like giving your rock a fresh canvas to work with! Just make sure it’s completely dry before you start pouring.
How to Create Your First Pour Painting on Rocks
Ready for the fun part? Here’s your step-by-step guide to paint pouring success:
Step 1: Set Up Your Workspace:
Place your clean rocks on bottle caps or similar small bases inside your container. This elevates them so excess paint can drip off beautifully.
Step 2: Prepare your Paint Mixtures:
Choose your colors and pour each one into its own cup. Mix in the pouring medium and stir gently with a craft stick. You want to add just enough pouring medium to thin out the acrylic paint for smooth pouring. The perfect consistency? Your paint should coat the mixing stick but still drip off smoothly – think warm honey!
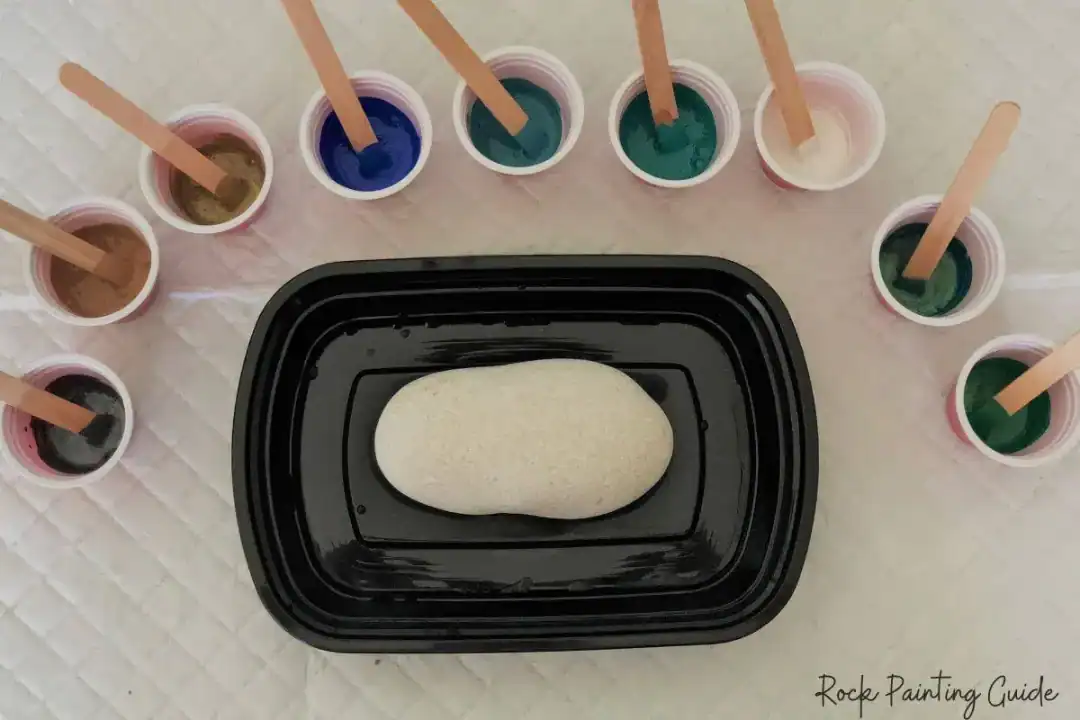
Step 3: Create your Dirty Pour
Here’s where the magic starts! Use a larger cup and begin pouring small amounts of each color, creating beautiful layers with all your chosen colors. Once all the paint is in your “pour” cup, you’re ready for the grand finale!
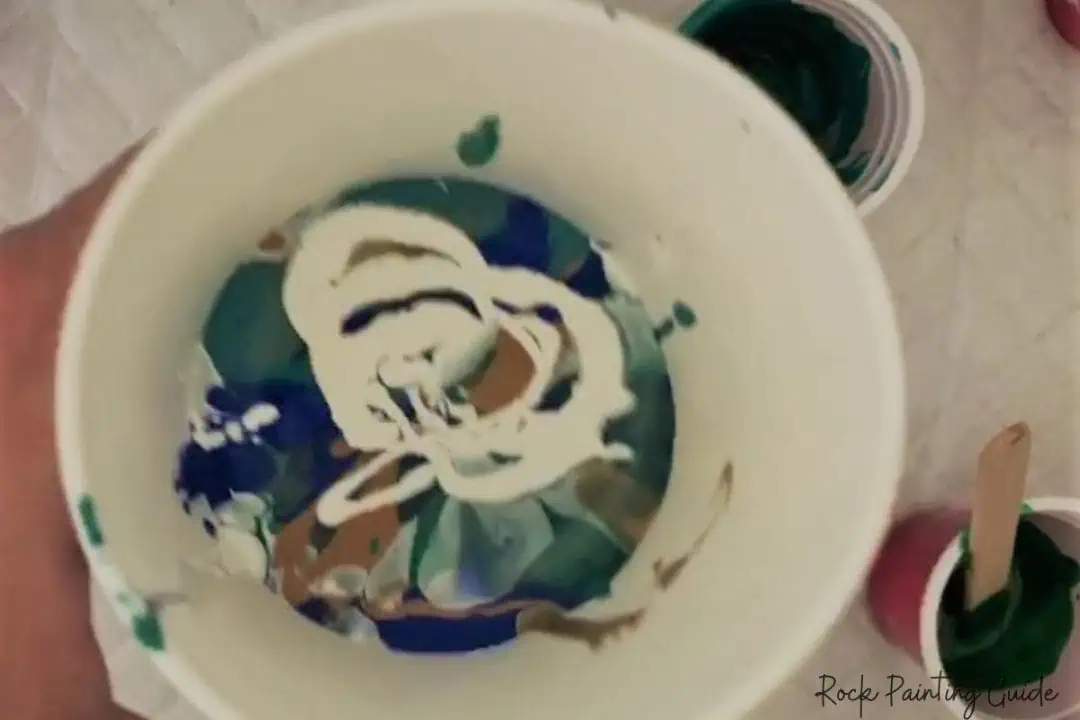
Step 4: The Big Pour:
Now for the most exciting part – begin pouring your dirty pour over the rock slowly in any direction you like. Make sure to cover the entire rock and watch as the colors flow and blend in ways you never expected!
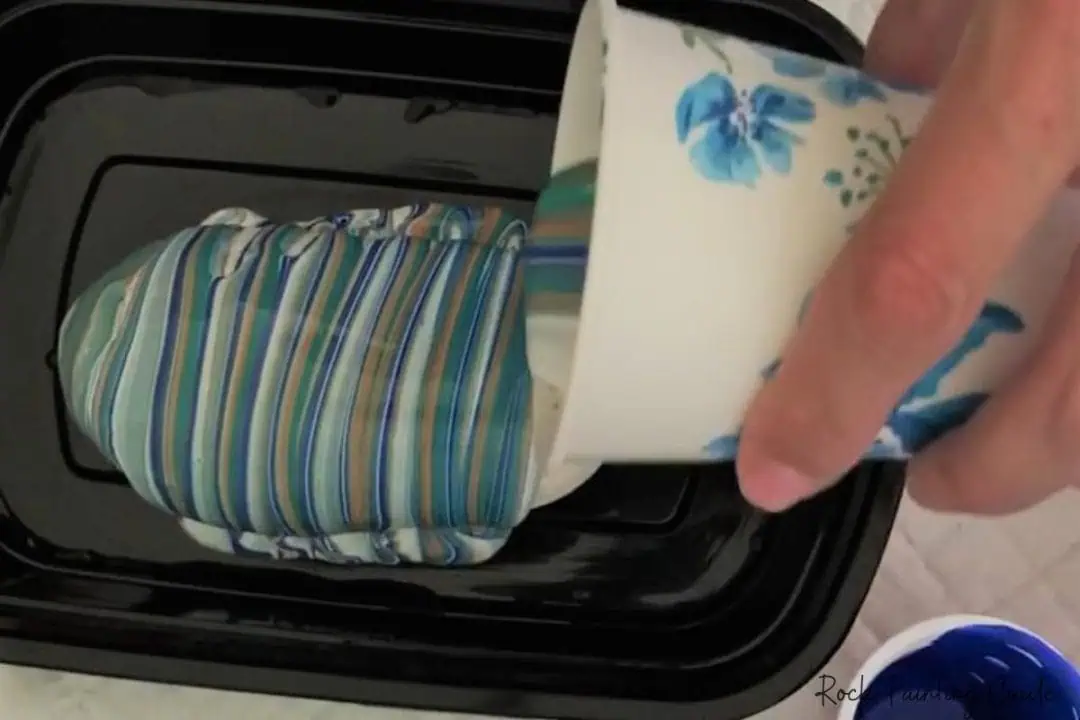
Step 5: The Waiting Game:
Let your rocks dry for at least 2 to 3 days before moving or sealing them. I know it’s tempting to peek and poke, but moving the container can cause rounded rocks to shift and potentially ruin your beautiful art. Patience is key here!
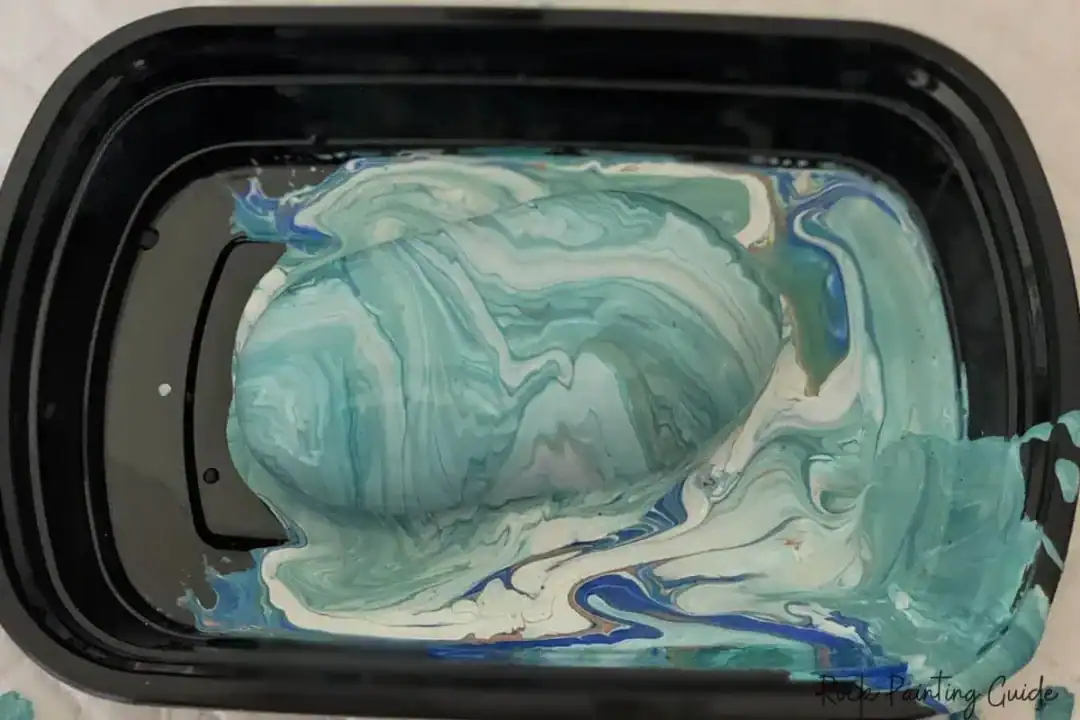
Optional Finishing Touch:
Once completely dry, you can sand the bottom of your painted rocks with light grit sandpaper to remove any dried paint bits. Then you can paint the bottom or leave it natural – your choice!
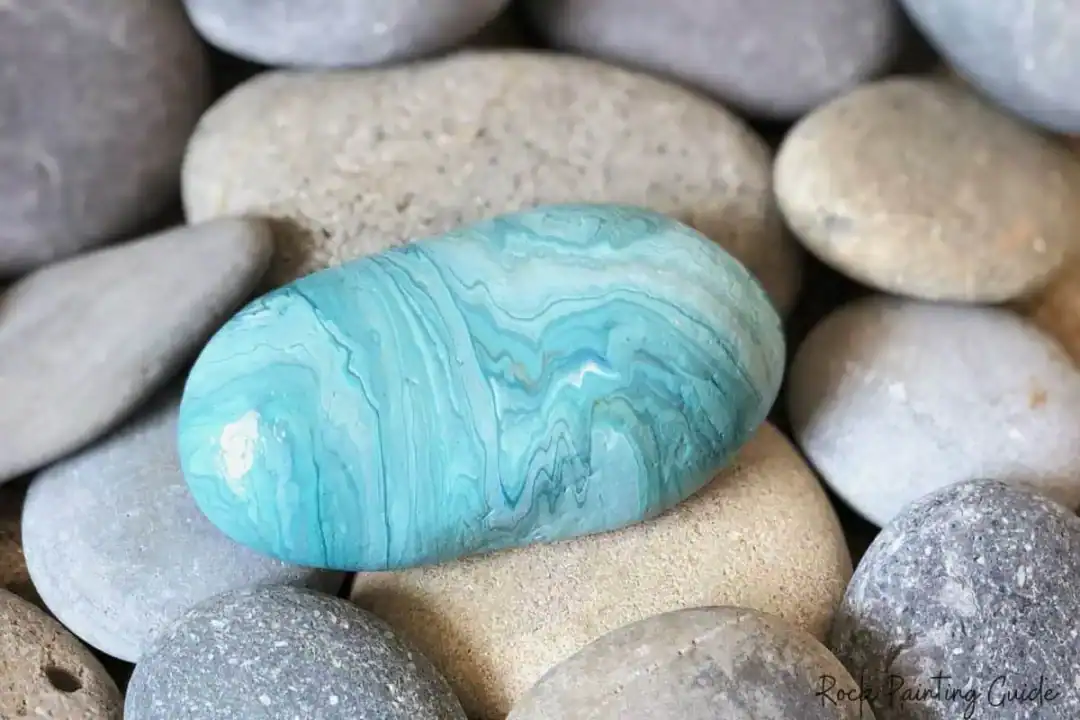
Paint Pouring Techniques You’ll Want to Try
Now comes the really fun part! Here are some beginner-friendly techniques that’ll have you creating masterpieces in no time:
- Straight Pour: Simply pour paint side by side or layer colors directly onto your surface. Easy and satisfying!
- The Dirty Pour (No, It’s Not Actually Dirty!): This acrylic pour painting technique is as simple as it sounds. Layer different colored paints into one cup, then pour the whole beautiful mess over your rock. Watch in amazement as the colors naturally swirl and flow into each other.
- The Flip Cup Adventure: Place your rock upside-down on top of a cup filled with layered paint colors. In one swift motion, flip both the cup and rock over, then lift the cup away. Voilà – instant abstract art that’ll make you feel like a paint pouring wizard!
- The Swipe Technique: After pouring your paint, take a paper towel, palette knife, or even a piece of cardboard and gently swipe across the surface. This drags the colors and reveals amazing hidden patterns underneath. Add a few drops of silicone oil beforehand for some really cool lacing and cell effects!
- The Puddle Pour: This one’s perfect for beginners who want a bit more control. Simply pour small amounts of different colored paints directly onto your rock, one color at a time. The paints will naturally flow together, creating gorgeous, unpredictable patterns.
- Dutch Pour Magic: Grab a blow dryer or even a kitchen torch (carefully!) and use the airflow to move your paint around. This acrylic pouring technique creates wild, organic-looking effects that are absolutely mesmerizing to watch develop.
Want a deeper dive into these techniques? Check out my blog post on 8 Easy Paint Pouring Techniques for step-by-step details, videos, and tips!
Creative Paint Pouring Ideas
- Galaxy Rocks: Mix deep blues, blacks, and whites with a sprinkle of glitter for an out-of-this-world effect.
- Ocean Vibes: Combine turquoise, blue, white, and a touch of sandy beige for a beachy feel.
- Sunset Magic: Blend warm oranges, yellows, and pinks for a gorgeous sunset-inspired design.
- Rainbow Celebrations: Use the tree ring technique with bright colors to create spiraling rainbow effects.
Pour Painting Tips for Beginners
- Get organized first: Before you start prepping paint with flow medium, gather all your supplies and have them ready.
- Create a dedicated workspace: Set up a clean area where you can prep, create, and leave your rocks to dry without having to move them.
- Protect your surfaces: Cover your table with plastic sheeting or something similar.
- Size matters: Use the smallest cups you can for your project. It makes combining colors easier and you’ll waste less paint.
- Mix gently: When combining pouring medium and paint, stir gently to eliminate air bubbles.
- Keep tweezers handy: They’re lifesavers for removing paint debris or stray hairs!
- Most importantly: Relax and have fun! Remember, there are no mistakes in paint pouring – only happy accidents!
Pour Painting on Rocks Step-by-Step YouTube Video!
The Joy of Paint Pouring
Here’s the thing about acrylic paint pouring on rocks – it’s absolutely addictive in the best way possible. Once you start experimenting with different color combinations and techniques, you’ll find yourself constantly thinking, “Ooh, what would happen if I tried this?” It’s creativity without pressure, art without rules, and pure joy in liquid form.
The best part? There’s no such thing as a “failed” pour. Even if a rock doesn’t turn out exactly how you envisioned, it’ll still be unique and beautiful in its own way. That’s the magic of this craft – every single piece is a happy accident waiting to happen.
So grab those supplies, set up your workspace (and maybe put on some good music), and let yourself play. Whether you’re stress-testing new paint pour techniques or just enjoying a peaceful afternoon of creative flow, paint pouring on rocks is the perfect way to add a little more color and joy to your world.
Ready to get started? Your rocks are waiting for their colorful transformation!
I hope you found this tutorial for Paint Pouring on Rocks helpful. Another fun way to paint rocks is by using Alcohol Inks! Check out our Alcohol Inks Guide, here.
Check out our Amazon Shop for our favorite rock painting supplies now!
more fun rock painting ideas
Pin this image for later!

Love the Coastal Style, check out our new post, How to Make Beautiful Beach-Inspired Paint Pouring Art. There you will learn how to create easy and fun coastal style home decor with this paint pouring ideas.


Thanks for the inspiration, love trying something new😊
I have read so many pouring guides here on Pinterest… This was by far the easiest to follow, and understand! Thank you so much!
I’m loving this guide. It’s easy to follow and I like the information for buying paints, pouring medium etc. Thank you so much!
I enjoy this. I love how mine came out!
I did this with 20 kids aged 4 to 11. They loved it! The rockS turned out greaT. I used a long tin and they did 3 rocks each! Different color combos. Landscape store 2 to 3 inch mexican river rocks. Just gave them a rinse. Thanks for all the great ideas. It went without any problems. 63 awesome rocks.
is there a way to stop marks on back of rocks if using cooling rack or even flat in a dish as mine get marks or the back dried paint peels..what am i doing wrong?sorry for cap letters..cant seem 2 stop it..thx r any suggestions
Hi Roxane, you can lightly sand the bottom of painted rocks for a smooth surface.